Party! guideMake a Party! camera

Tap + in Party!, pick the occasion, name it and set the time, then tap Continue and Start the Party!

Party! · 1.1 · 7 steps
  1. 01

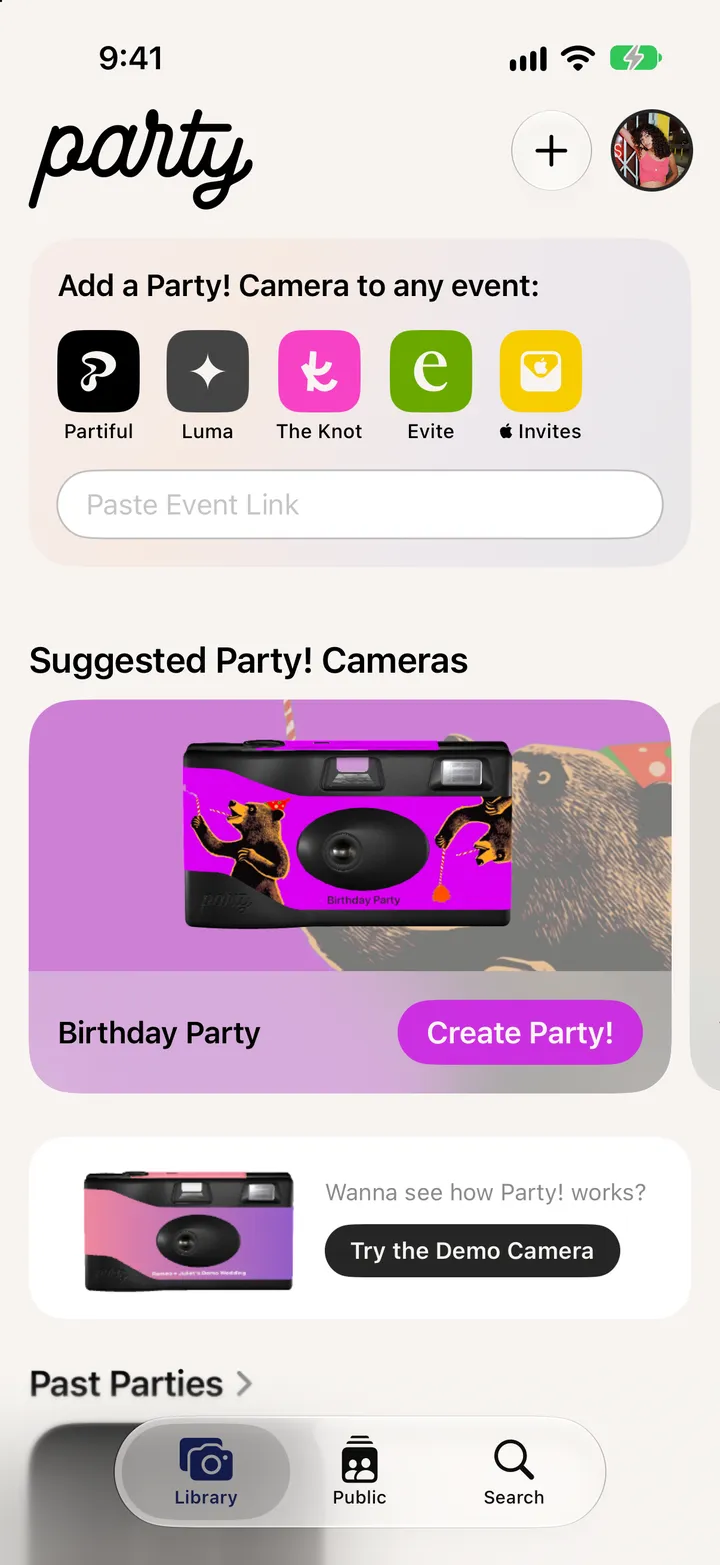
    Tap +

    Top right of your Library.

    Step 1: Tap +
  2. 02

    Pick the occasion

    Party, Birthday, Wedding, Night Out and more. The camera dresses for it.
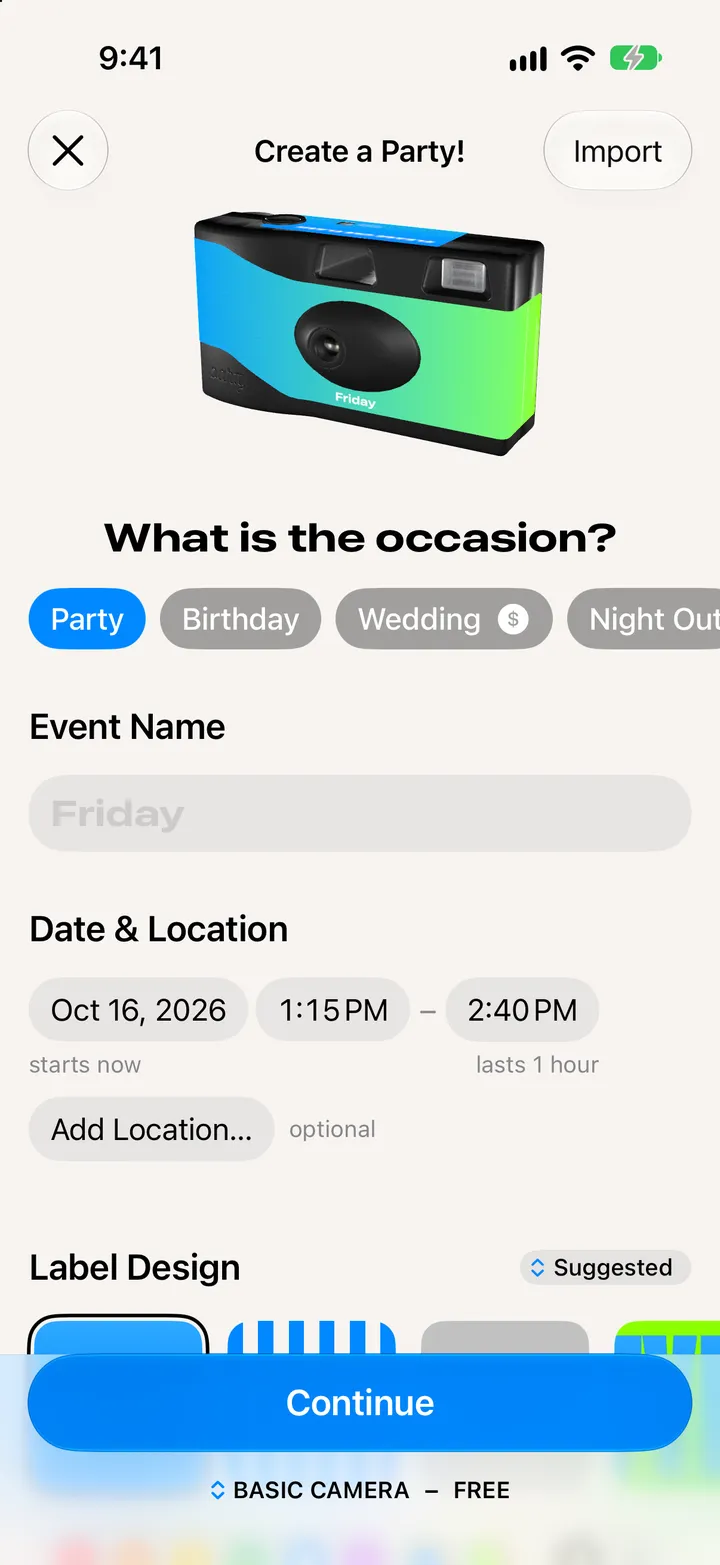
    Step 2: Pick the occasion
  3. 03

    Name it

    Pick a typeface for the label from the row above the keyboard.
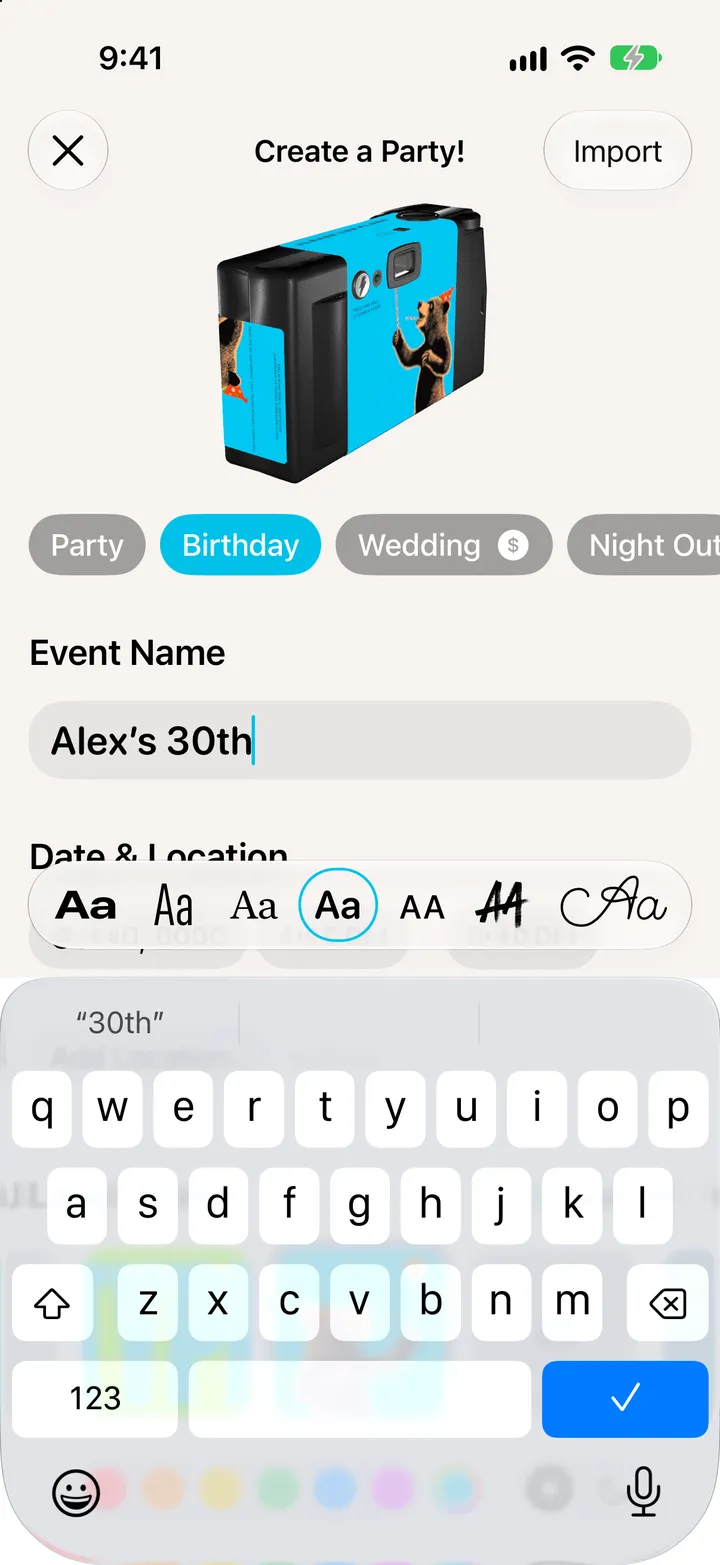
    Step 3: Name it
  4. 04

    Set the time and place

    It starts now unless you change it. The location is optional.
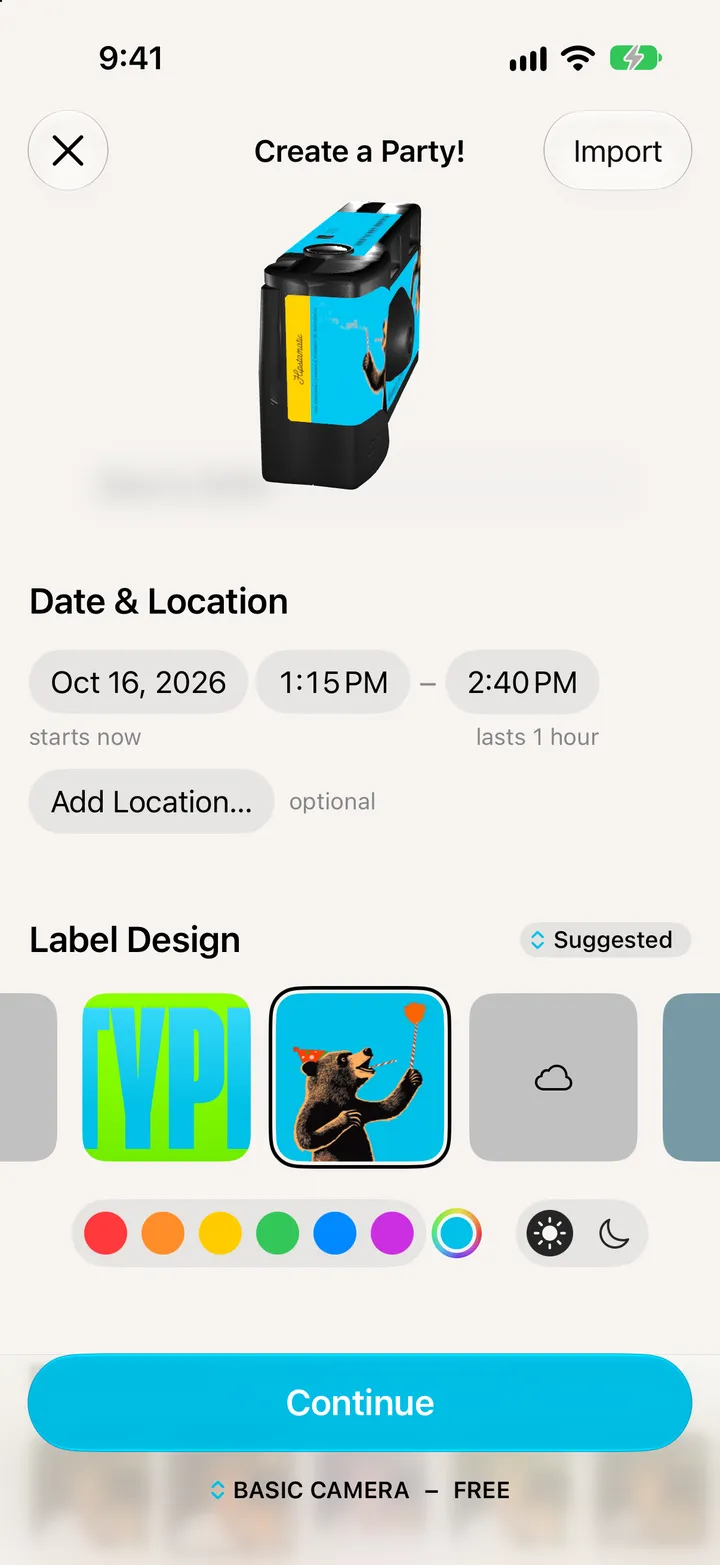
    Step 4: Set the time and place
  5. 05

    Pick the look, then tap Continue

    How the photos look, how many photos, and how many people.
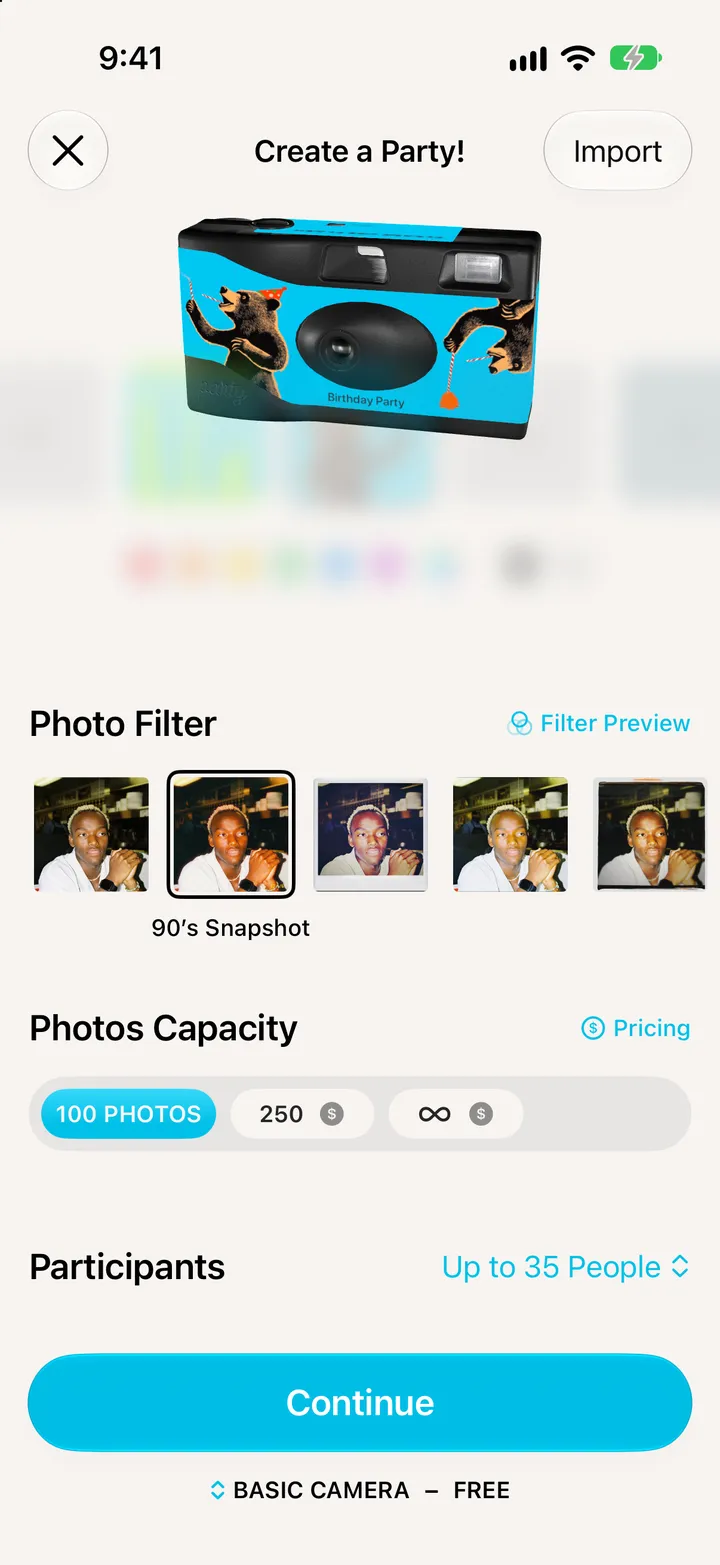
    Step 5: Pick the look, then tap Continue
  6. 06

    Tap Start the Party!

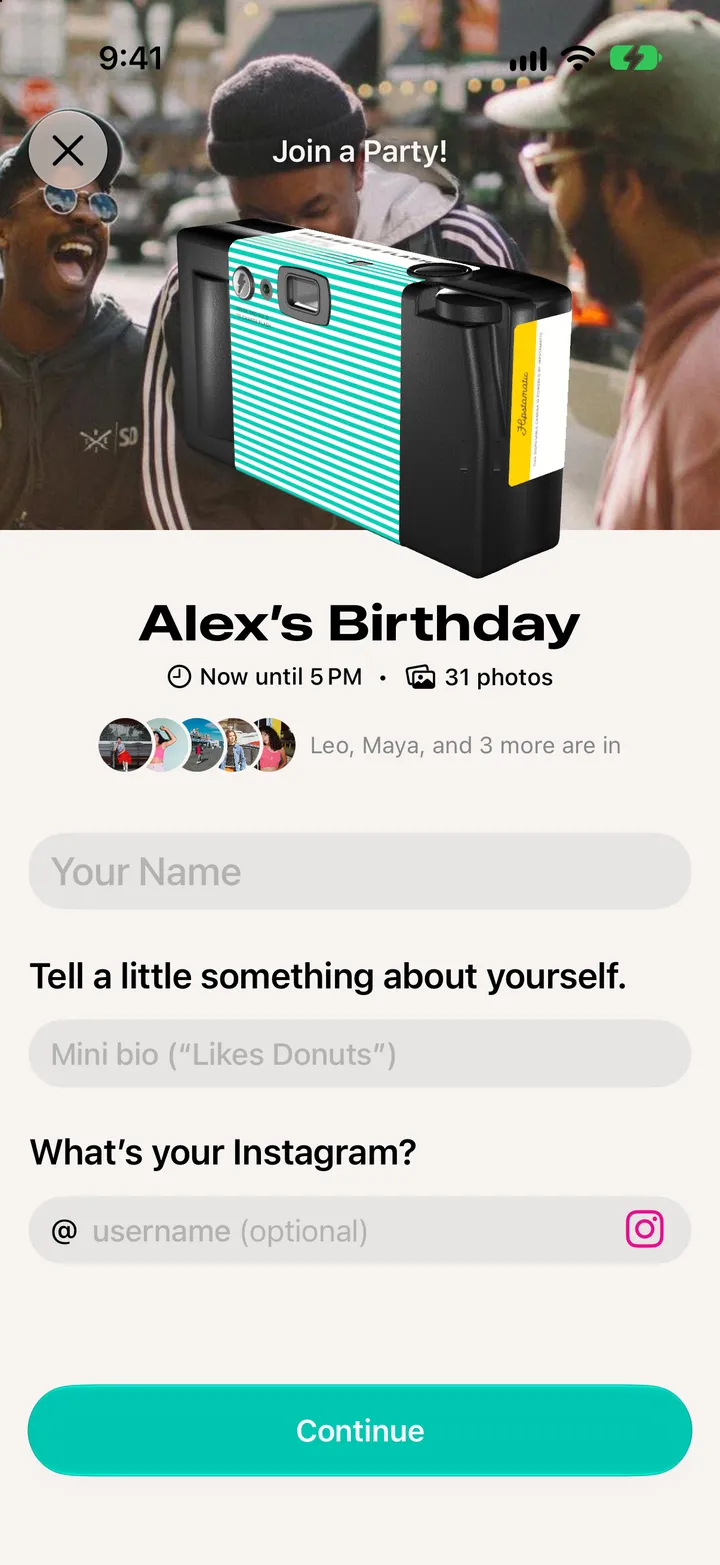
    Photos reveal the next morning. For a party later on, the button says Schedule Party! Camera. Then add your name and a picture.
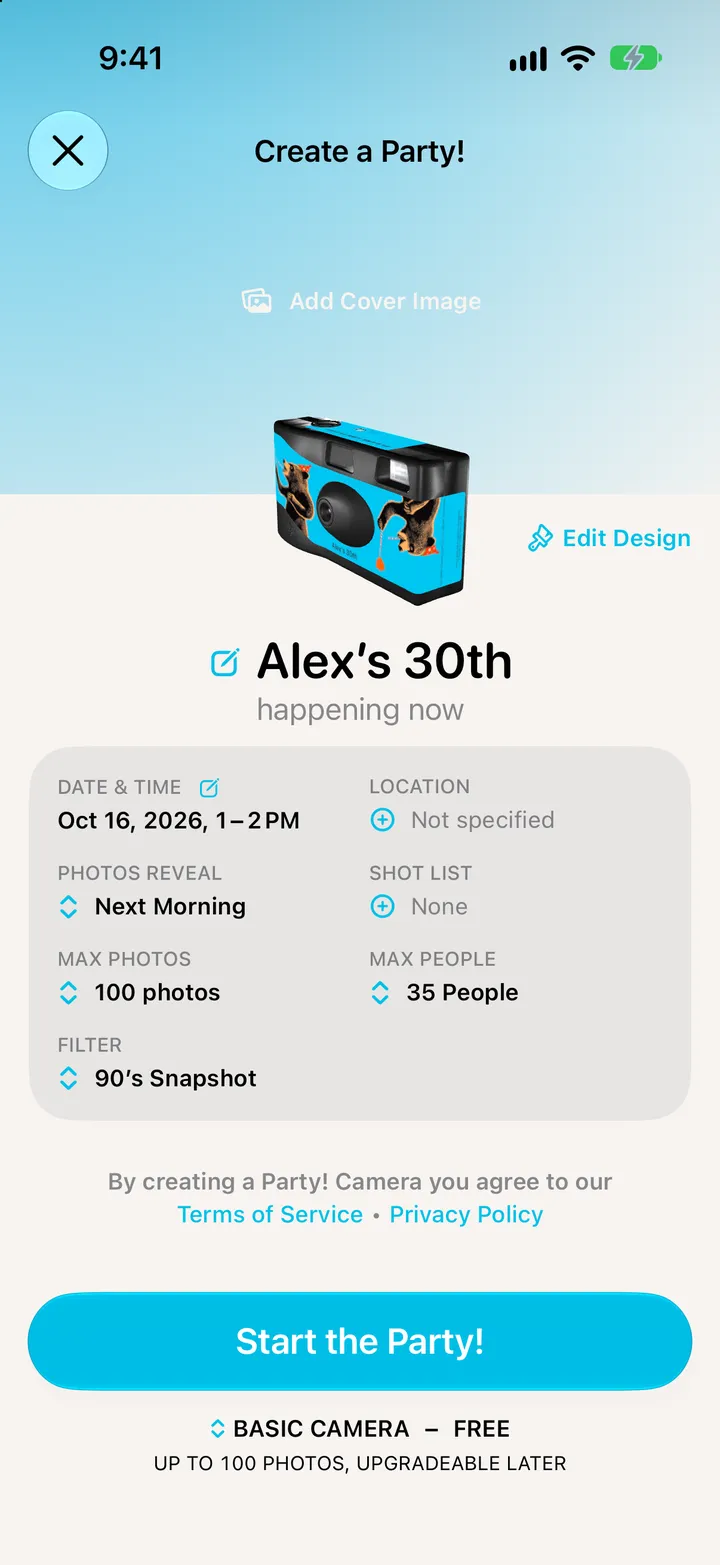
    Step 6: Tap Start the Party!
  7. 07

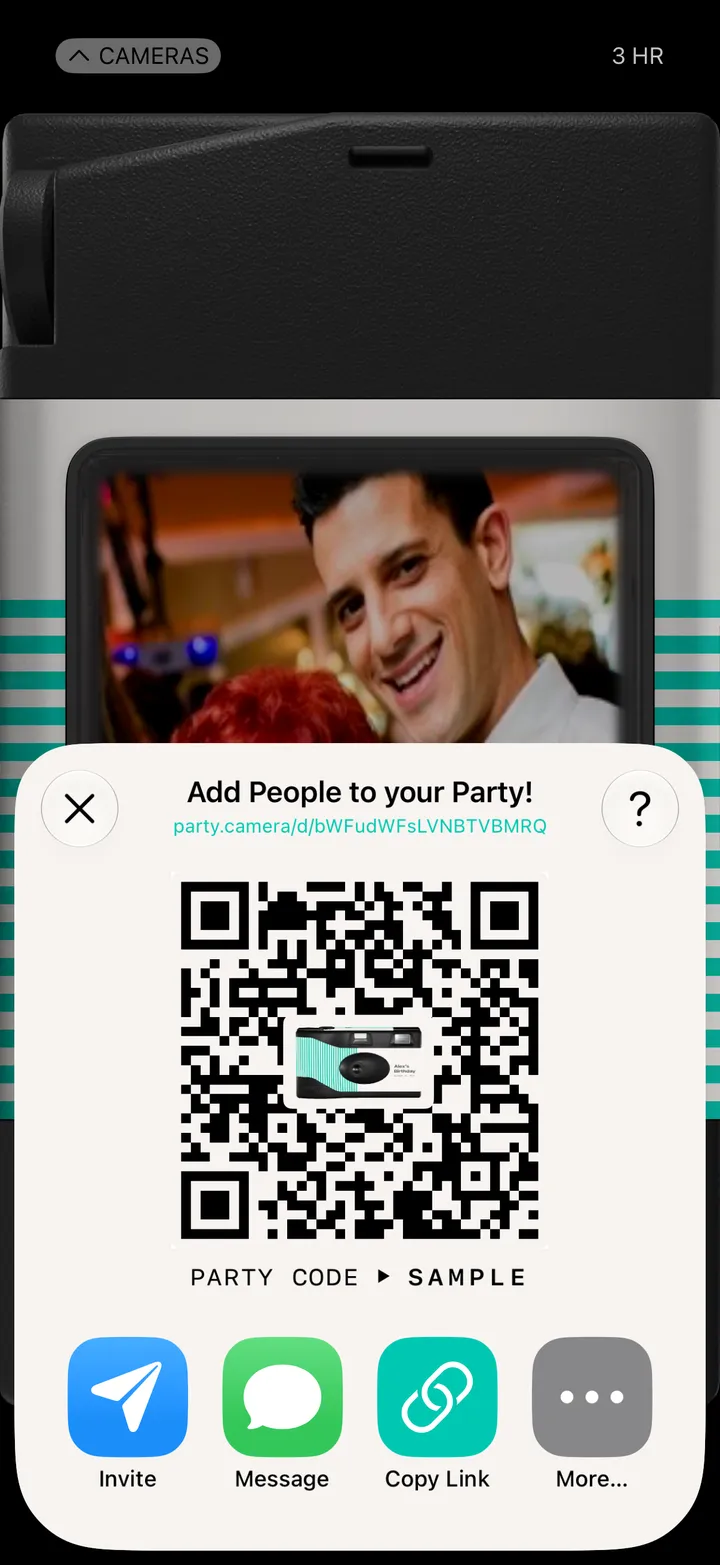
    There’s your camera

    It opens on its QR code, ready for guests.
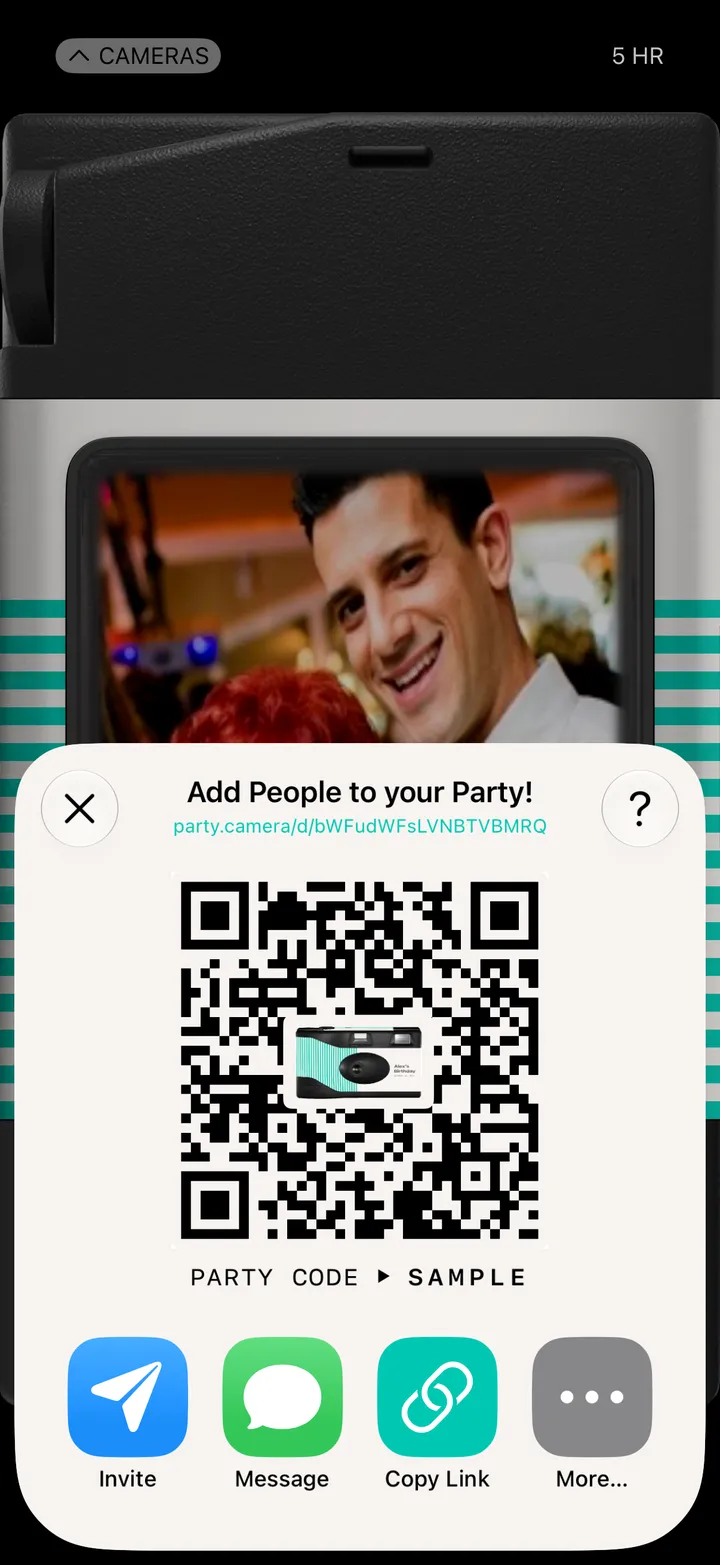
    Step 7: There’s your camera

Good to know

  • A Basic Camera is free for up to 100 photos and 35 people. Bigger parties cost a little, and Camera Club members get Deluxe cameras free.
  • Weddings and big events start on a Premium camera.
  • Already made the invite on Partiful, Luma, The Knot, Evite or Apple Invites? Paste its link at the top of your Library and Party! fills in the camera.