Black & White by Jozef Hipp
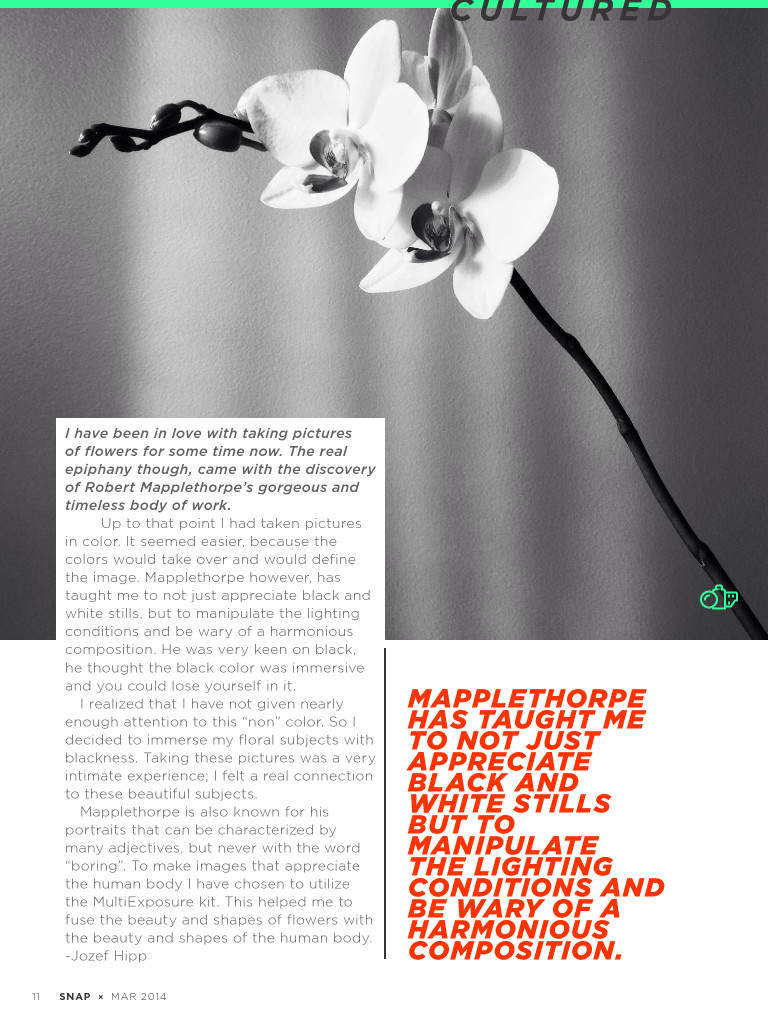
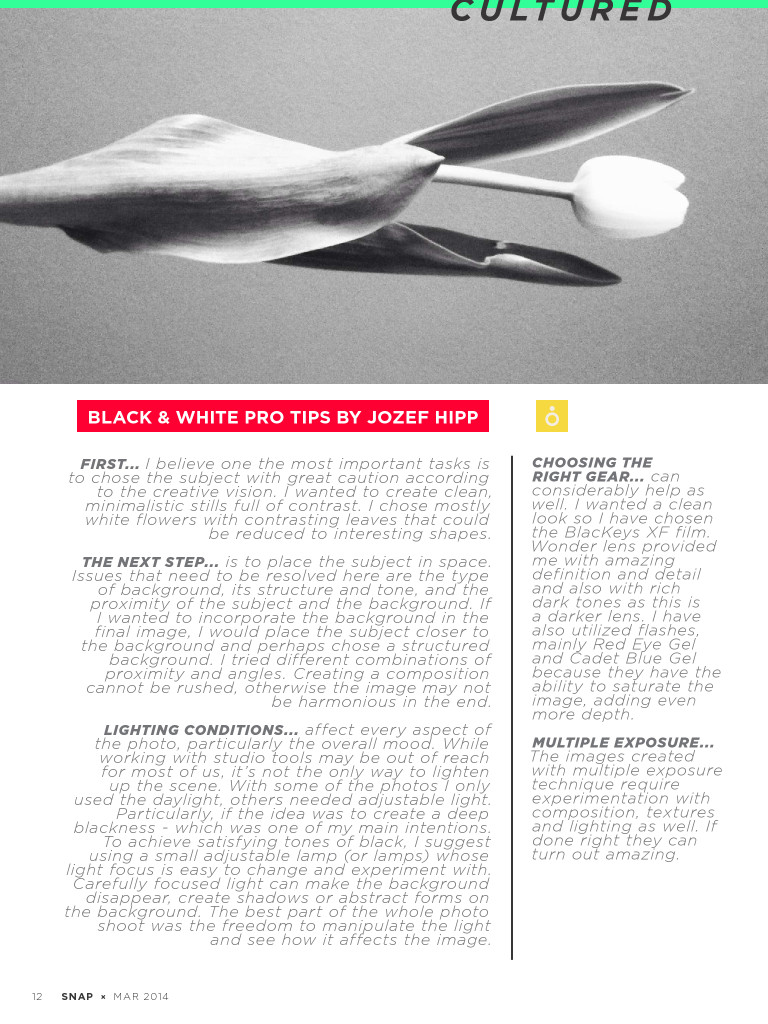
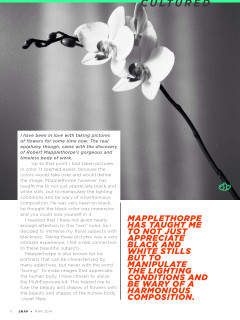
I have been in love with taking pictures of flowers for some time now. The real epiphany though, came with the discovery of Robert Mapplethorpe’s gorgeous and timeless body of work.
Up to that point I had taken pictures in color. It seemed easier, because the colors would take over and would define the image. Mapplethorpe however, has taught me to not just appreciate black and white stills, but to manipulate the lighting conditions and be wary of a harmonious composition. He was very keen on black, he thought the black color was immersive and you could lose yourself in it.
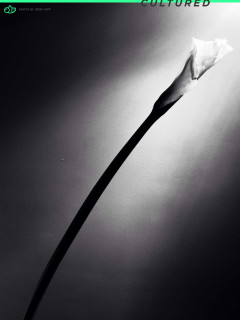
I realized that I have not given nearly enough attention to this “non” color. So I decided to immerse my floral subjects with blackness. Taking these pictures was a very intimate experience; I felt a real connection to these beautiful subjects.
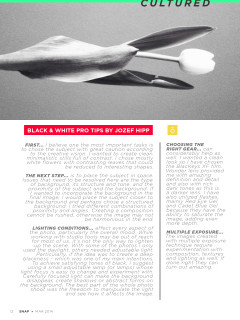
Mapplethorpe is also known for his portraits that can be characterized by many adjectives, but never with the word “boring”. To make images that appreciate the human body I have chosen to utilize the multiexposure kit. This helped me to fuse the beauty and shapes of flowers with the beauty and shapes of the human body. -Jozef Hipp
Mapplethorpe has taught me to not just appreciate black and white stills but to manipulate the lighting conditions and be wary of a harmonious composition.
Black & White Pro TIPS by Jozef hipp
Choosing the right gear... can First... I believe one the most important tasks is to chose the subject with great caution according to the creative vision. I wanted to create clean,
considerably help as well. I wanted a clean minimalistic stills full of contrast. I chose mostly white flowers with contrasting leaves that could be reduced to interesting shapes. look so I have chosen
The next step... is to place the subject in space.
the blackeys xf film. Wonder lens provided me with amazing definition and detail and also with rich Issues that need to be resolved here are the type of background, its structure and tone, and the proximity of the subject and the background. If dark tones as this is a darker lens. I have also utilized flashes, I wanted to incorporate the background in the final image, I would place the subject closer to the background and perhaps chose a structured background. I tried different combinations of mainly Red Eye Gel and Cadet Blue Gel proximity and angles. Creating a composition cannot be rushed, otherwise the image may not be harmonious in the end.
because they have the ability to saturate the image, adding even more depth.
Lighting conditions... affect every aspect of the photo, particularly the overall mood. While working with studio tools may be out of reach for most of us, it’s not the only way to lighten up the scene. With some of the photos I only used the daylight, others needed adjustable light. Particularly, if the idea was to create a deep blackness - which was one of my main intentions. To achieve satisfying tones of black, I suggest using a small adjustable lamp (or lamps) whose light focus is easy to change and experiment with. Carefully focused light can make the background disappear, create shadows or abstract forms on the background. The best part of the whole photo shoot was the freedom to manipulate the light and see how it affects the image. multiple exposure...
The images created with multiple exposure technique require experimentation with
composition, textures and lighting as well. If done right they can turn out amazing.