Multiple Exposure
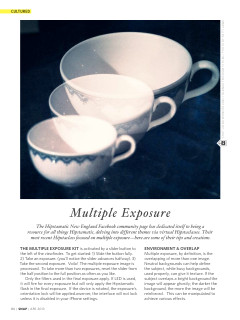
The Hipstamatic New England Facebook community page has dedicated itself to being a resource for all things Hipstamatic, delving into different themes via virtual Hipstaclasses. Their most recent Hipstaclass focused on multiple exposure—here are some of their tips and creations.
The multiple exposure KIT is activated by a slider button to the left of the viewfinder. To get started: 1) Slide the button fully. 2) Take an exposure. (you’ll notice the slider advances halfway). 3) Take the second exposure. Voila! The multiple exposure image is processed. To take more than two exposures, reset the slider from the half position to the full position as often as you like.
Only the filters used in the final exposure apply. If LED is used, it will fire for every exposure but will only apply the Hipstamatic flash in the final exposure. If the device is rotated, the exposure’s orientation lock will be applied.owerver, the interface will not lock unless it is disabled in your iPhone settings.
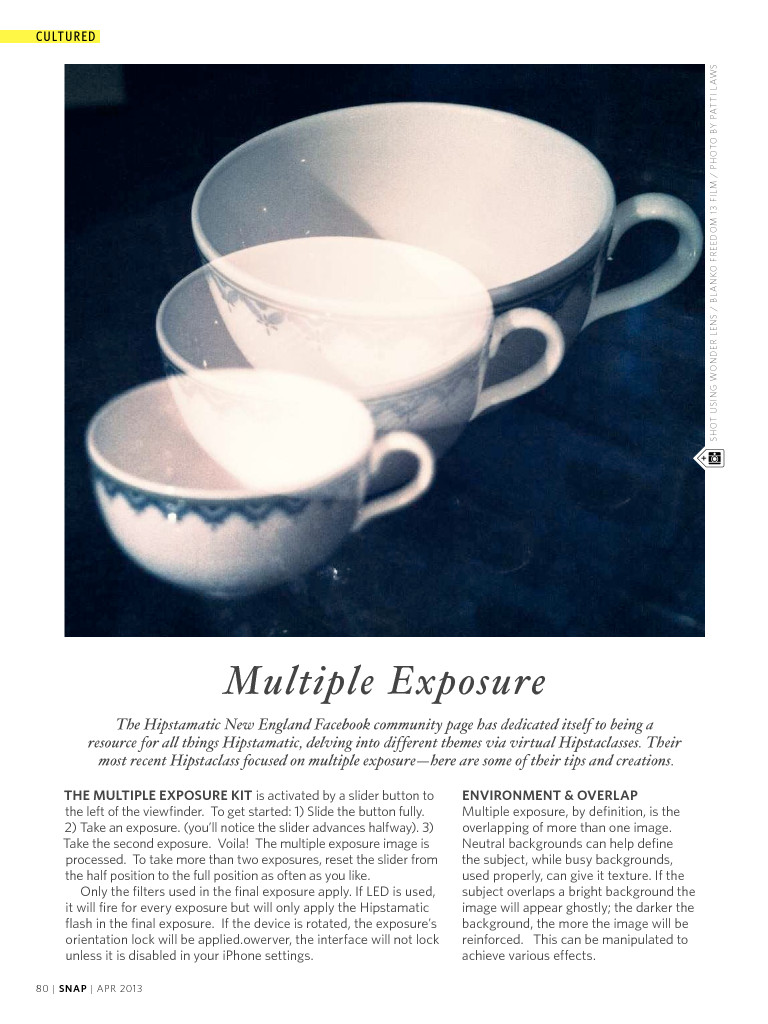
Environment & overlap Multiple exposure, by definition, is the overlapping of more than one image. Neutral backgrounds can help define the subject, while busy backgrounds, used properly, can give it texture. If the subject overlaps a bright background the image will appear ghostly; the darker the background, the more the image will be reinforced. This can be manipulated to achieve various effects.
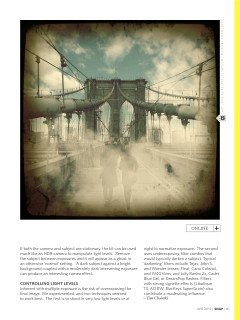
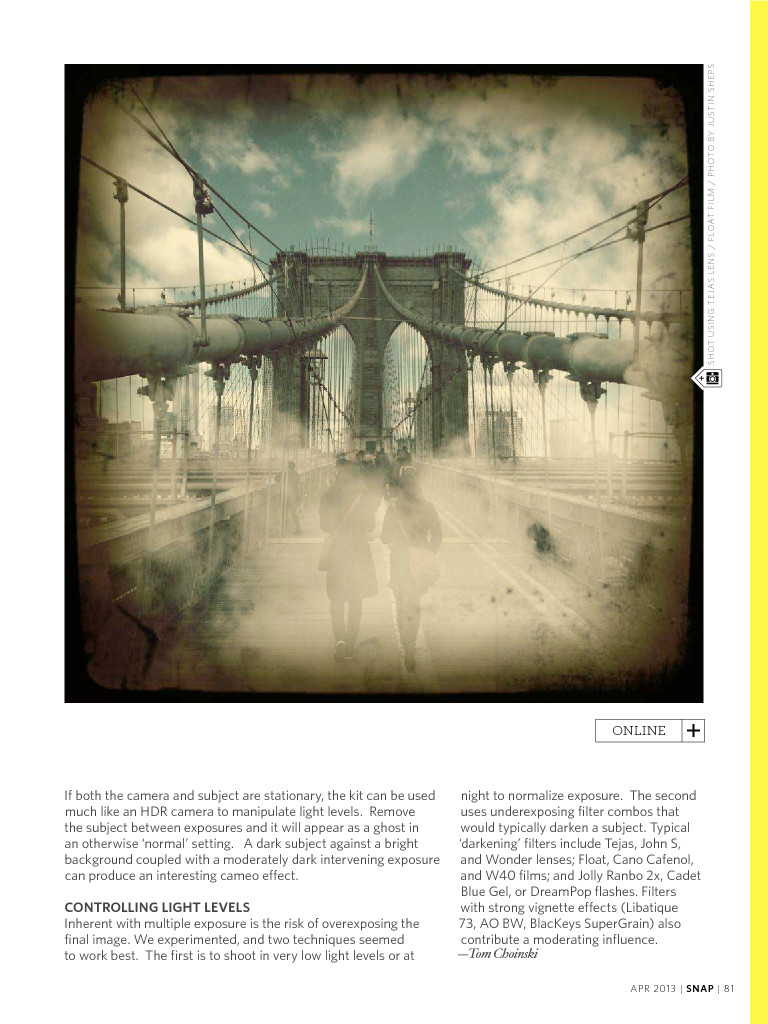
If both the camera and subject are stationary, the kit can be used much like an HDR camera to manipulate light levels. Remove the subject between exposures and it will appear as a ghost in an otherwise ‘normal’ setting. A dark subject against a bright background coupled with a moderately dark intervening exposure can produce an interesting cameo effect.
Controlling light levels Inherent with multiple exposure is the risk of overexposing the final image. We experimented, and two techniques seemed to work best. The first is to shoot in very low light levels or at night to normalize exposure. The second uses underexposing filter combos that would typically darken a subject. Typical ‘darkening’ filters include Tejas, John S, and Wonder lenses; Float, Cano Cafenol, and W40 films; and Jolly Ranbo 2x, Cadet Blue Gel, or dreampop flashes. Filters with strong vignette effects (Libatique 73, AO BW, blackeys supergrain) also contribute a moderating influence.
—Tom Choinski
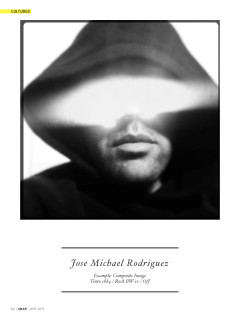
Jose Michael Rodriguez
Example: Composite Image Tinto 1884 / Rock BW-11 / Off
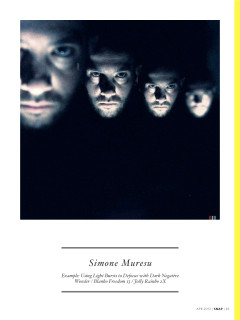
Simone Muresu
Example: Using Light Bursts to Defocus with Dark Negative Wonder / Blanko Freedom 13 / Jolly Rainbo 2X
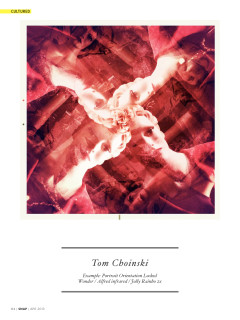
Tom Choinski
Example: Portrait Orientation Locked Wonder / Alfred infrared / Jolly Rainbo 2x
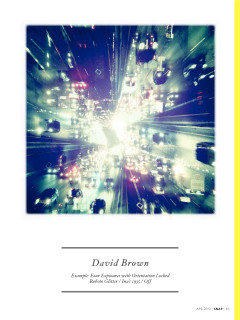
David Brown
Example: Four Exposures with Orientation Locked Roboto Glitter / Ina’s 1935 / Off